Written for Xcode 15.2
Create the multiplatform app
Start Xcode and go to File➡️New Project (⇧⌘N)
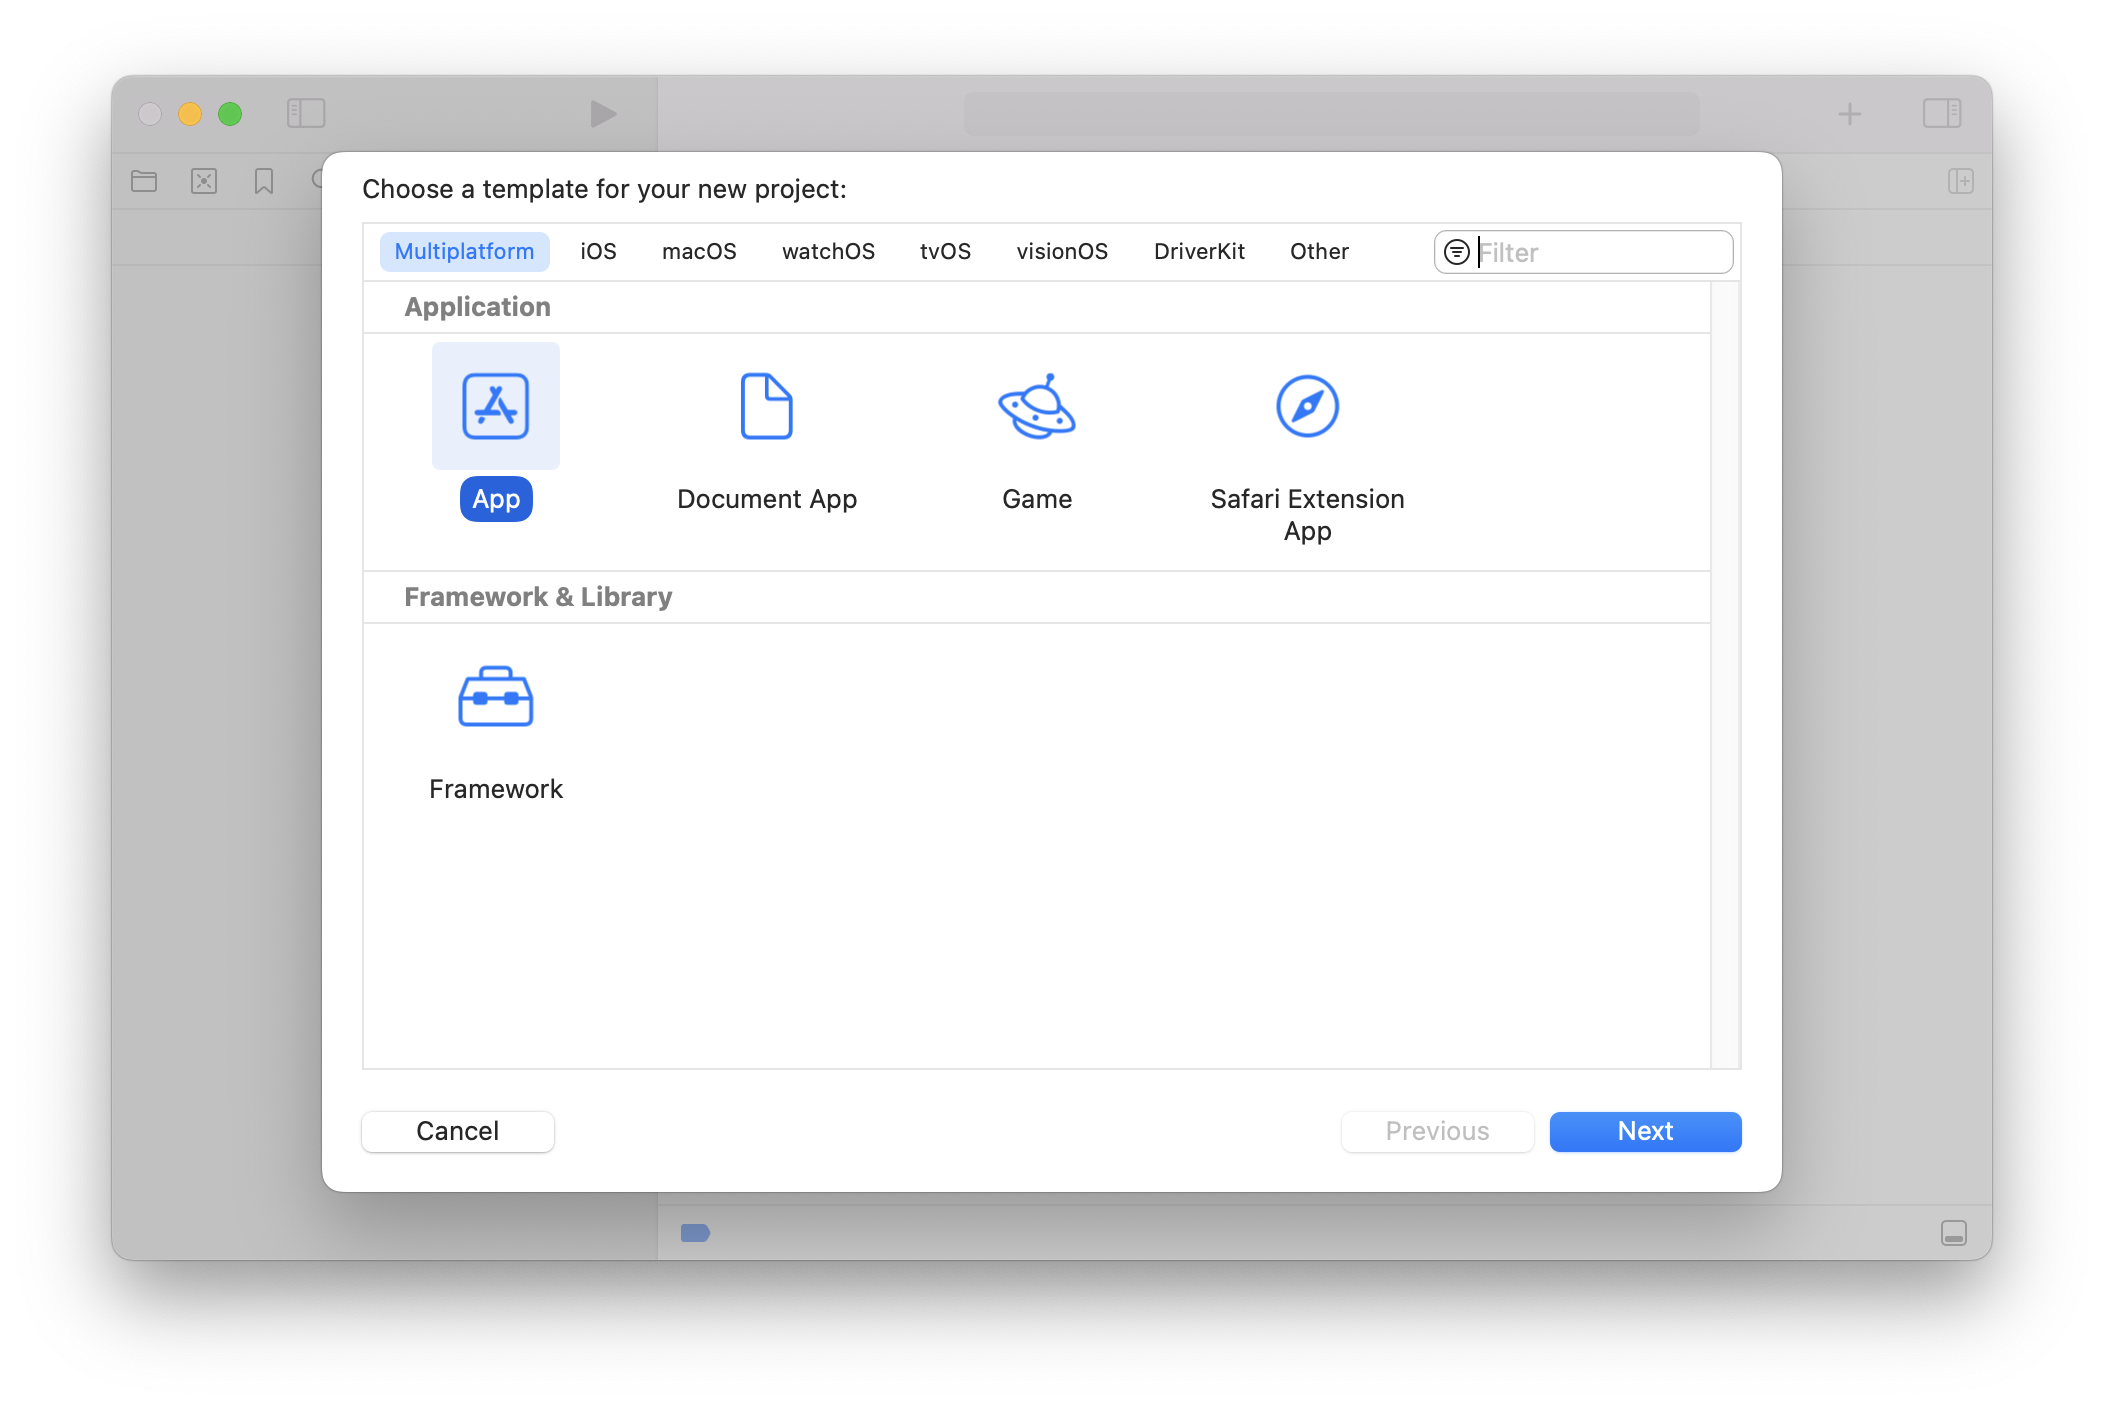
Select the Multiplatform App template and click Next:
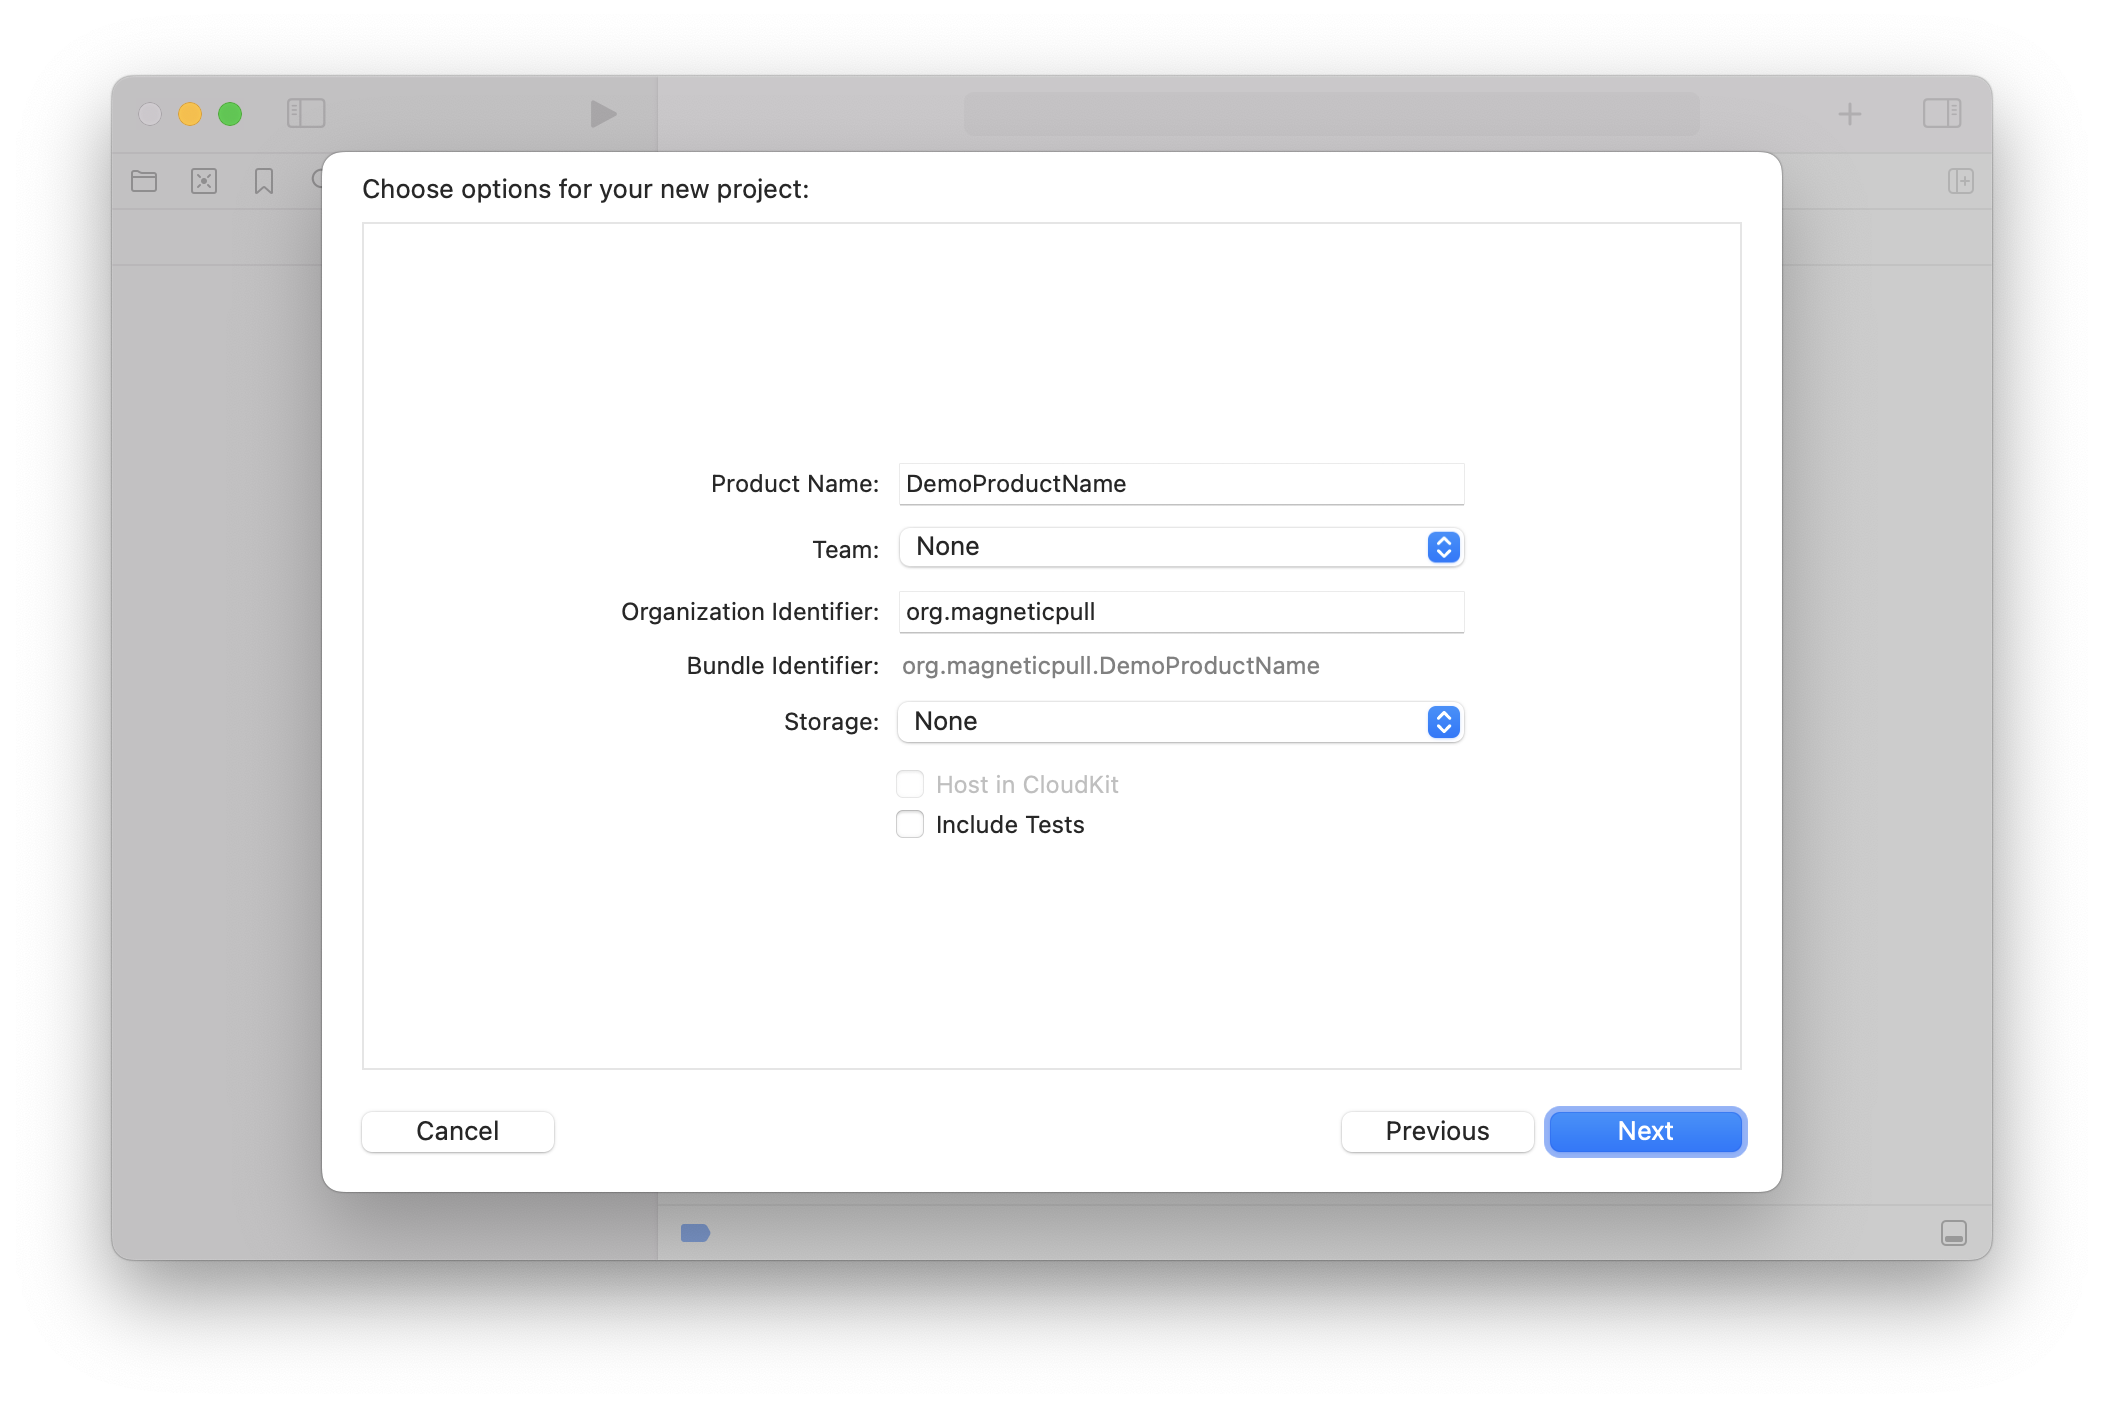
Set the options for the new project and click Next.
We’ll be using DemoProductName to see how Xcode uses this name. For example, note how it’s automatically appended to the organization identifier, generating the bundle identifier:
Save the project on the disk.
At this point, Xcode has created a DemoProductName scheme which can build the app for iOS or MacOS.
Create a package
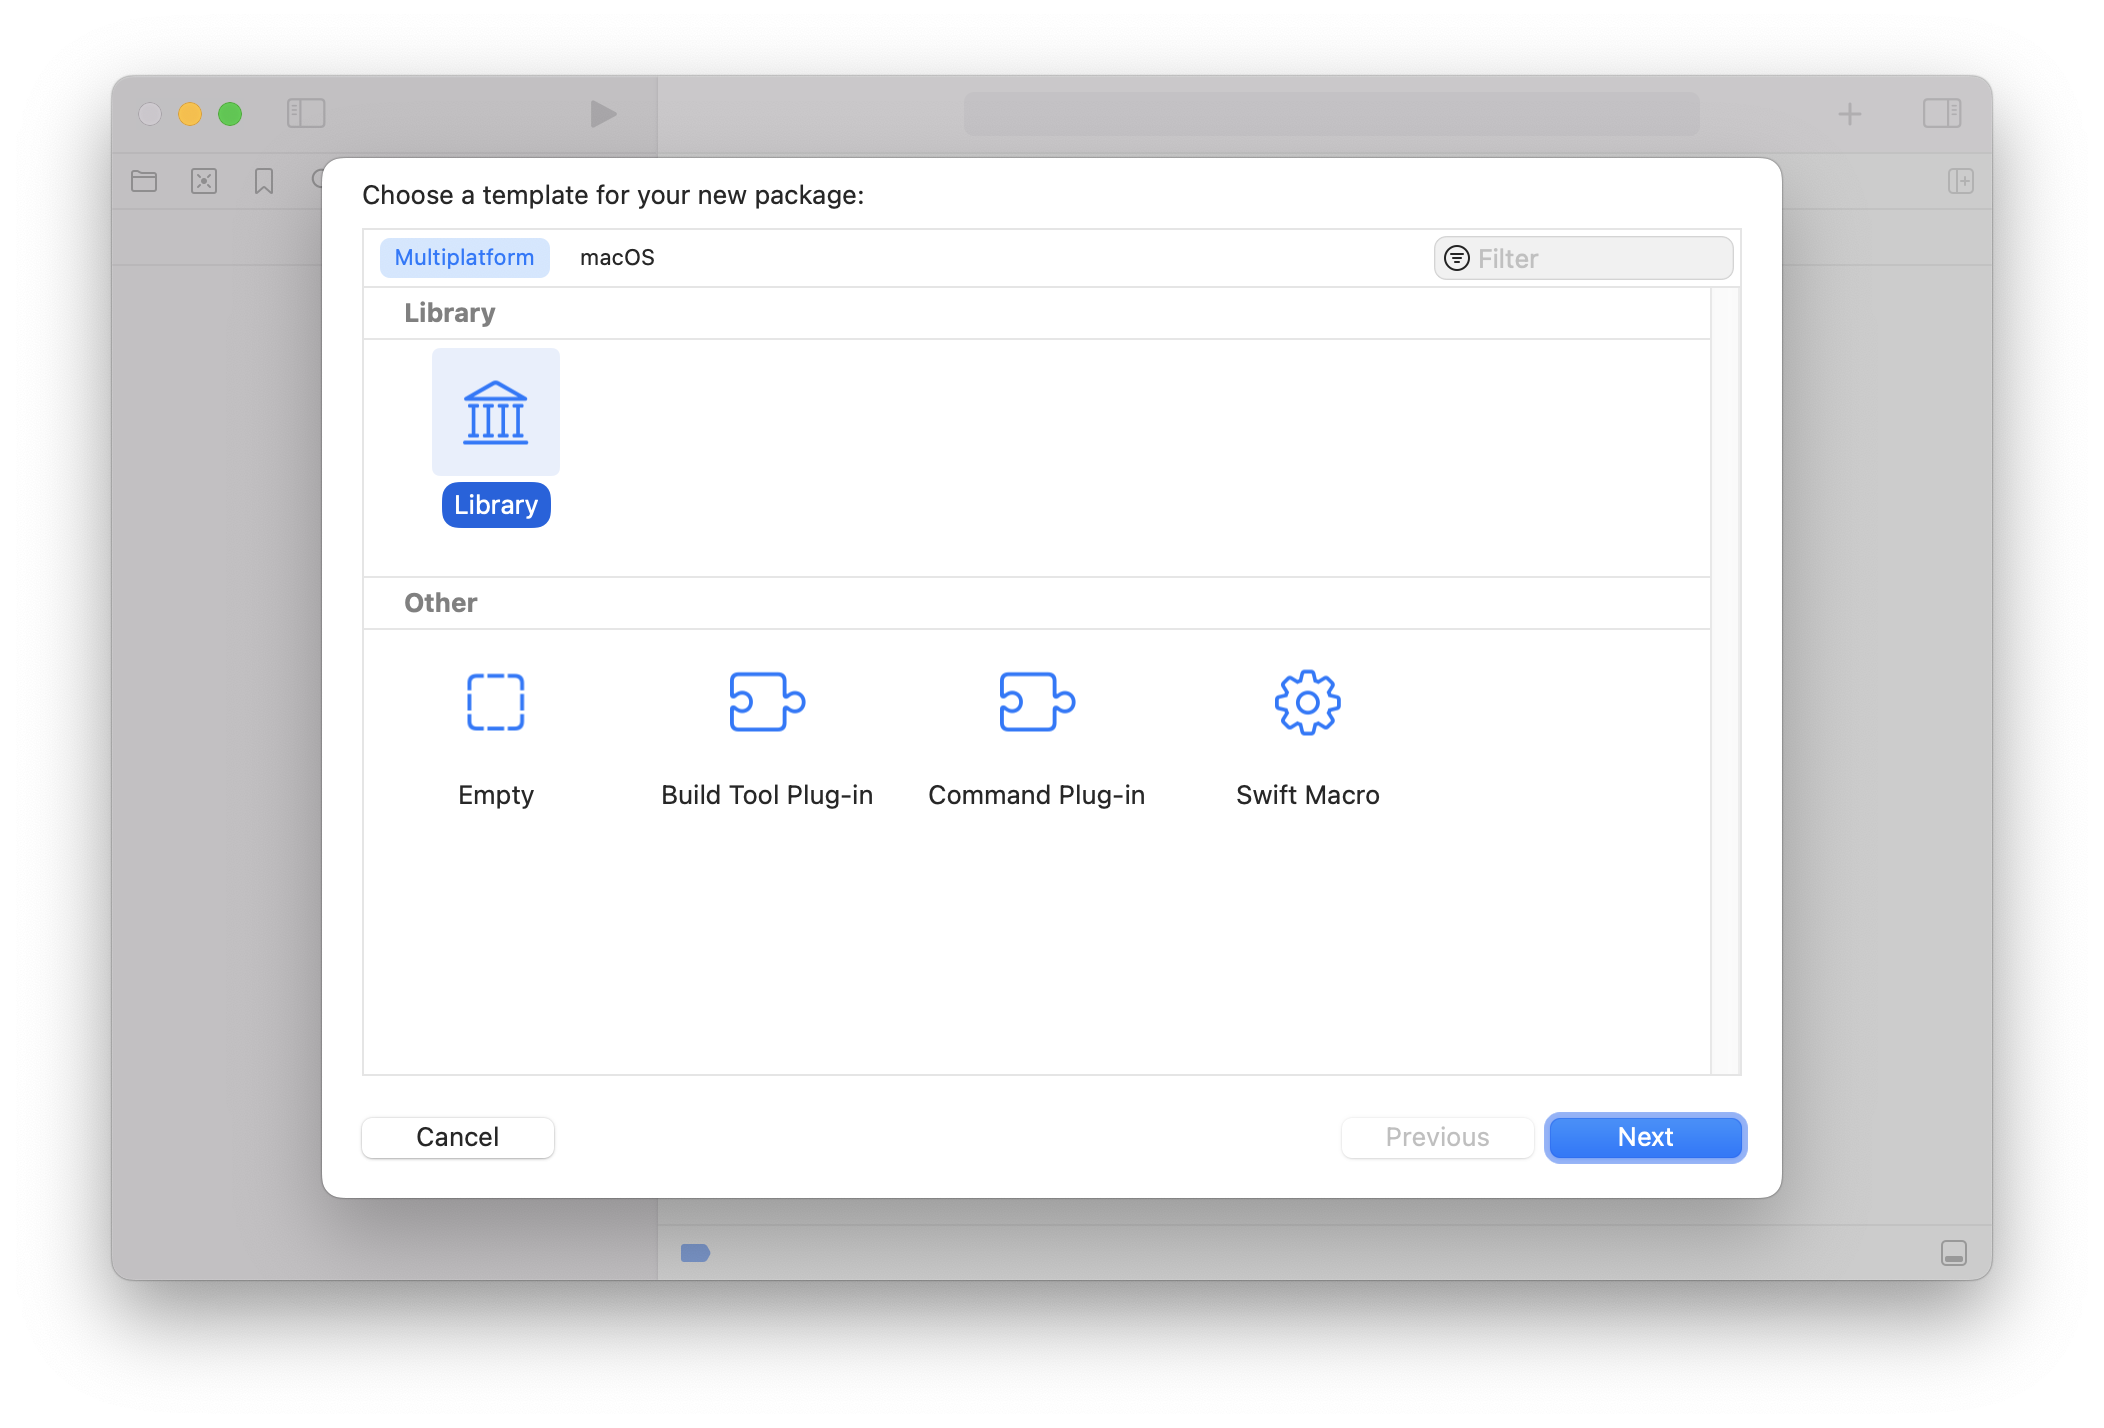
Go to File➡️New Package (^⇧⌘N) and select the Multiplatform Library template:
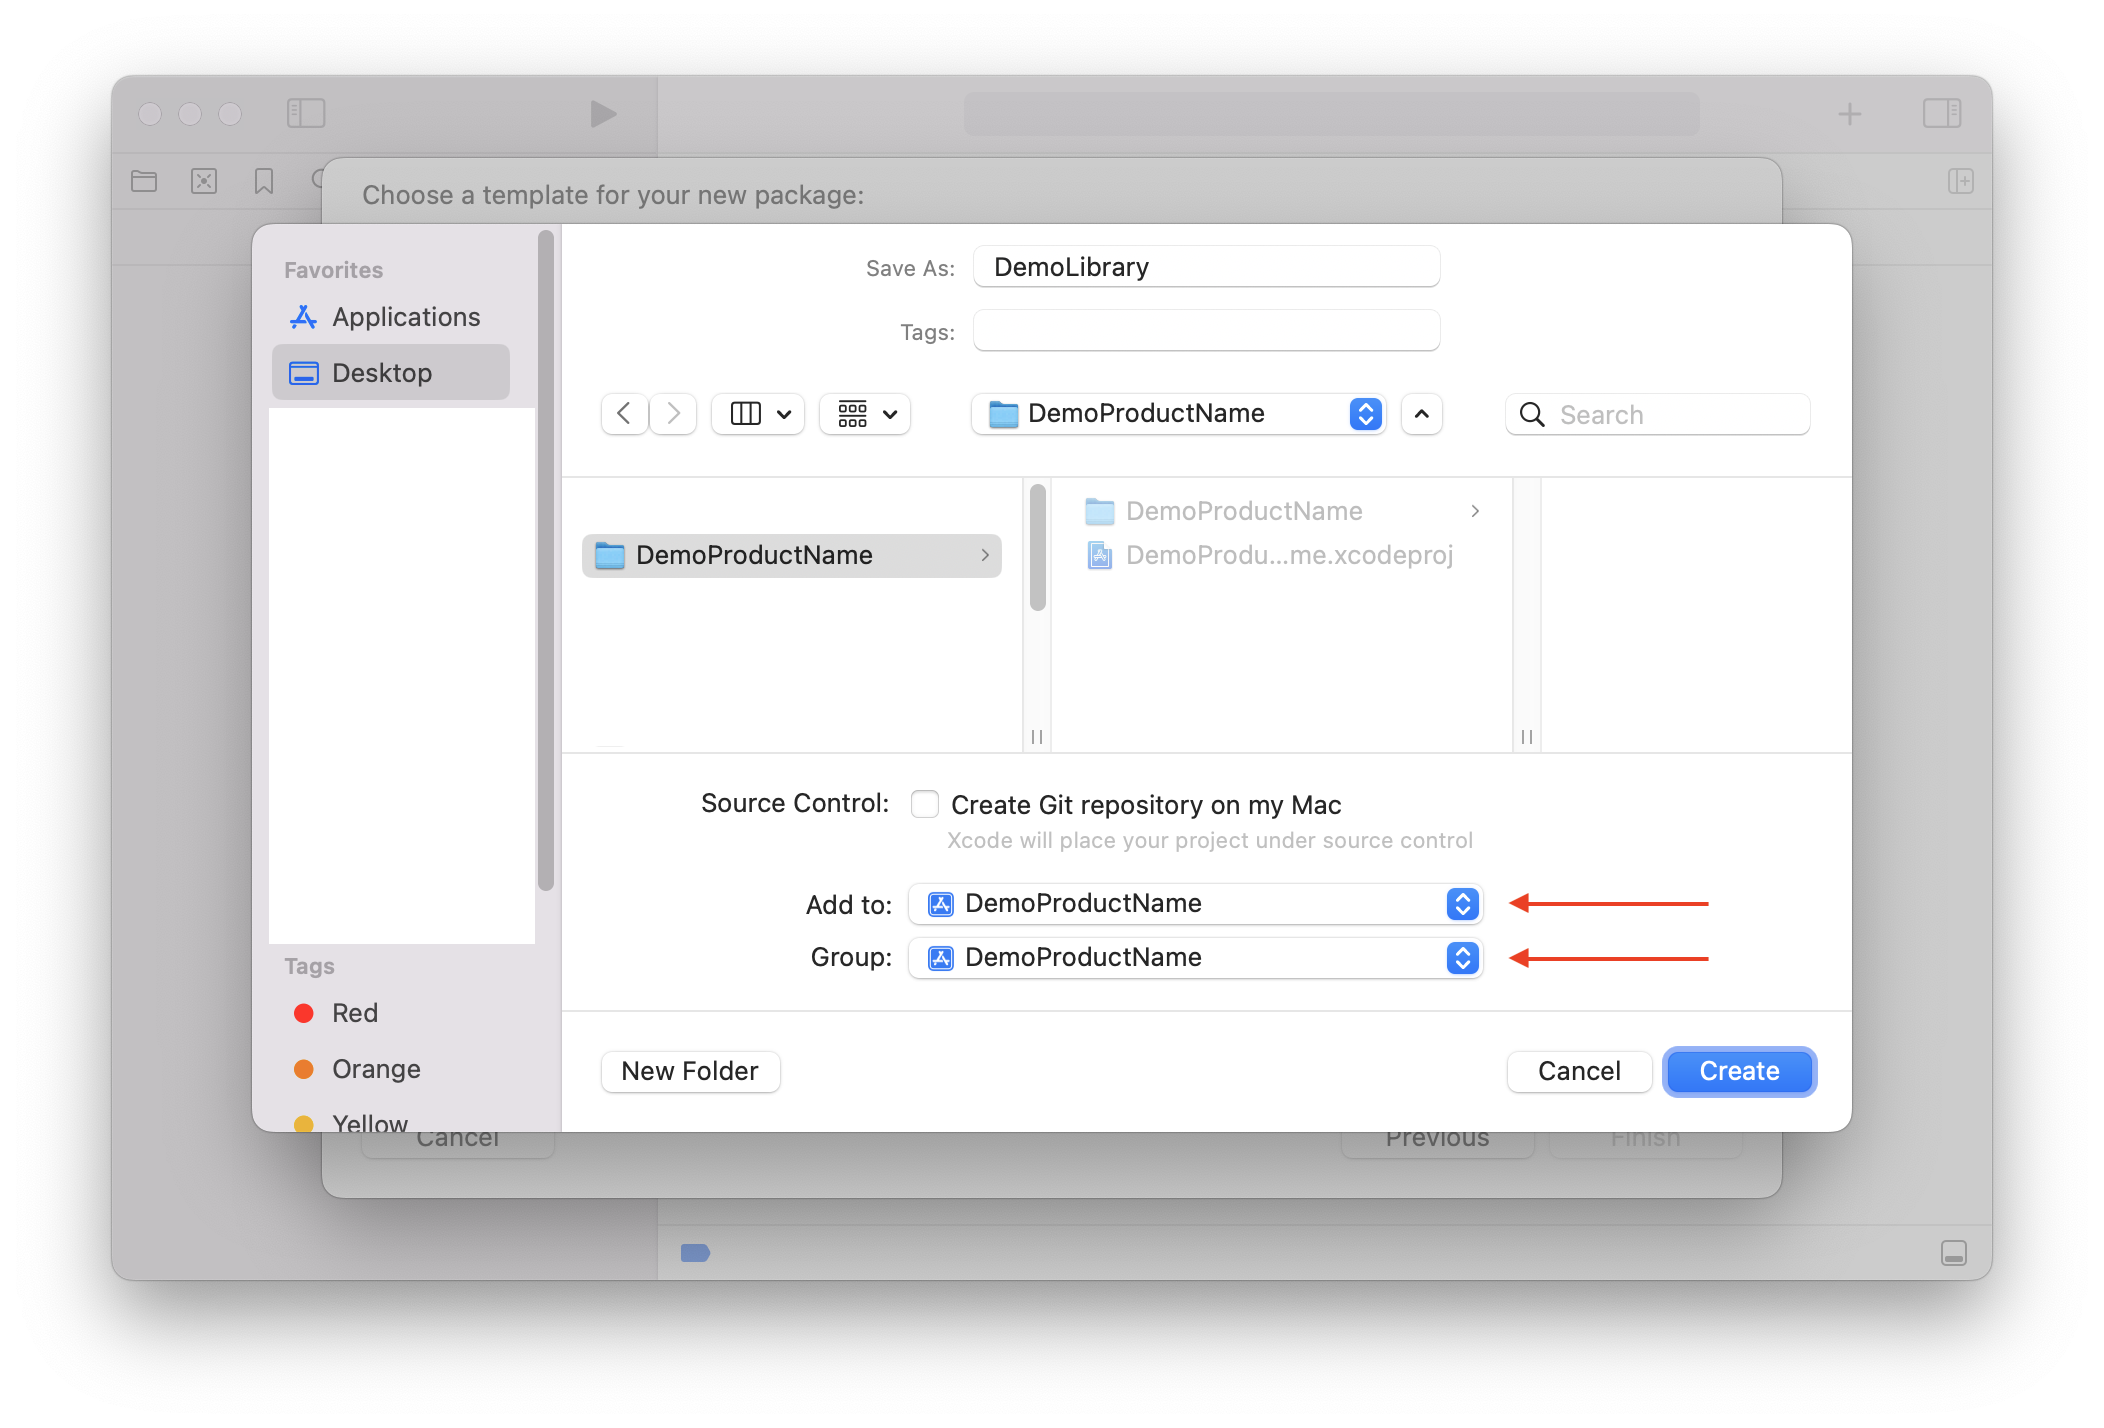
Click Next and select the previously-created top-level folder (DemoProductName in our example). The Add to: and Group: dropdowns can also be set to the top-level DemoProductName.
We’ll be using DemoLibrary for the package name:
This will create a new scheme (DemoLibrary) as well as a Package.swift file, defining one product and two targets:
// swift-tools-version: 5.9
// The swift-tools-version declares the minimum version of Swift required to build this package.

import PackageDescription

let package = Package(
    name: "DemoLibrary",
    products: [
        // Products define the executables and libraries a package produces, making them visible to other packages.
        .library(
            name: "DemoLibrary",
            targets: ["DemoLibrary"]),
    ],
    targets: [
        // Targets are the basic building blocks of a package, defining a module or a test suite.
        // Targets can depend on other targets in this package and products from dependencies.
        .target(
            name: "DemoLibrary"),
        .testTarget(
            name: "DemoLibraryTests",
            dependencies: ["DemoLibrary"]),
    ]
)
To try out the library, add a simple struct in DemoLibrary.swift:
public struct DemoStruct {
    public init() {}

    public func demoFunc(_ input: Int) -> String {
        input.description
    }
}
This can be tested by updating the test target - in our case edit DemoLibraryTests.swift:
import XCTest
@testable import DemoLibrary

final class DemoLibraryTests: XCTestCase {
    func testDemoFunc() throws {
        let sut = DemoStruct()
        XCTAssertEqual(sut.demoFunc(42), "42")
    }
}
The tests can run by selecting the DemoLibrary scheme and then Product➡️Test (⌘U).
Embed the library to the app target
To access DemoStruct from the iOS app, select the project and then the iOS target:
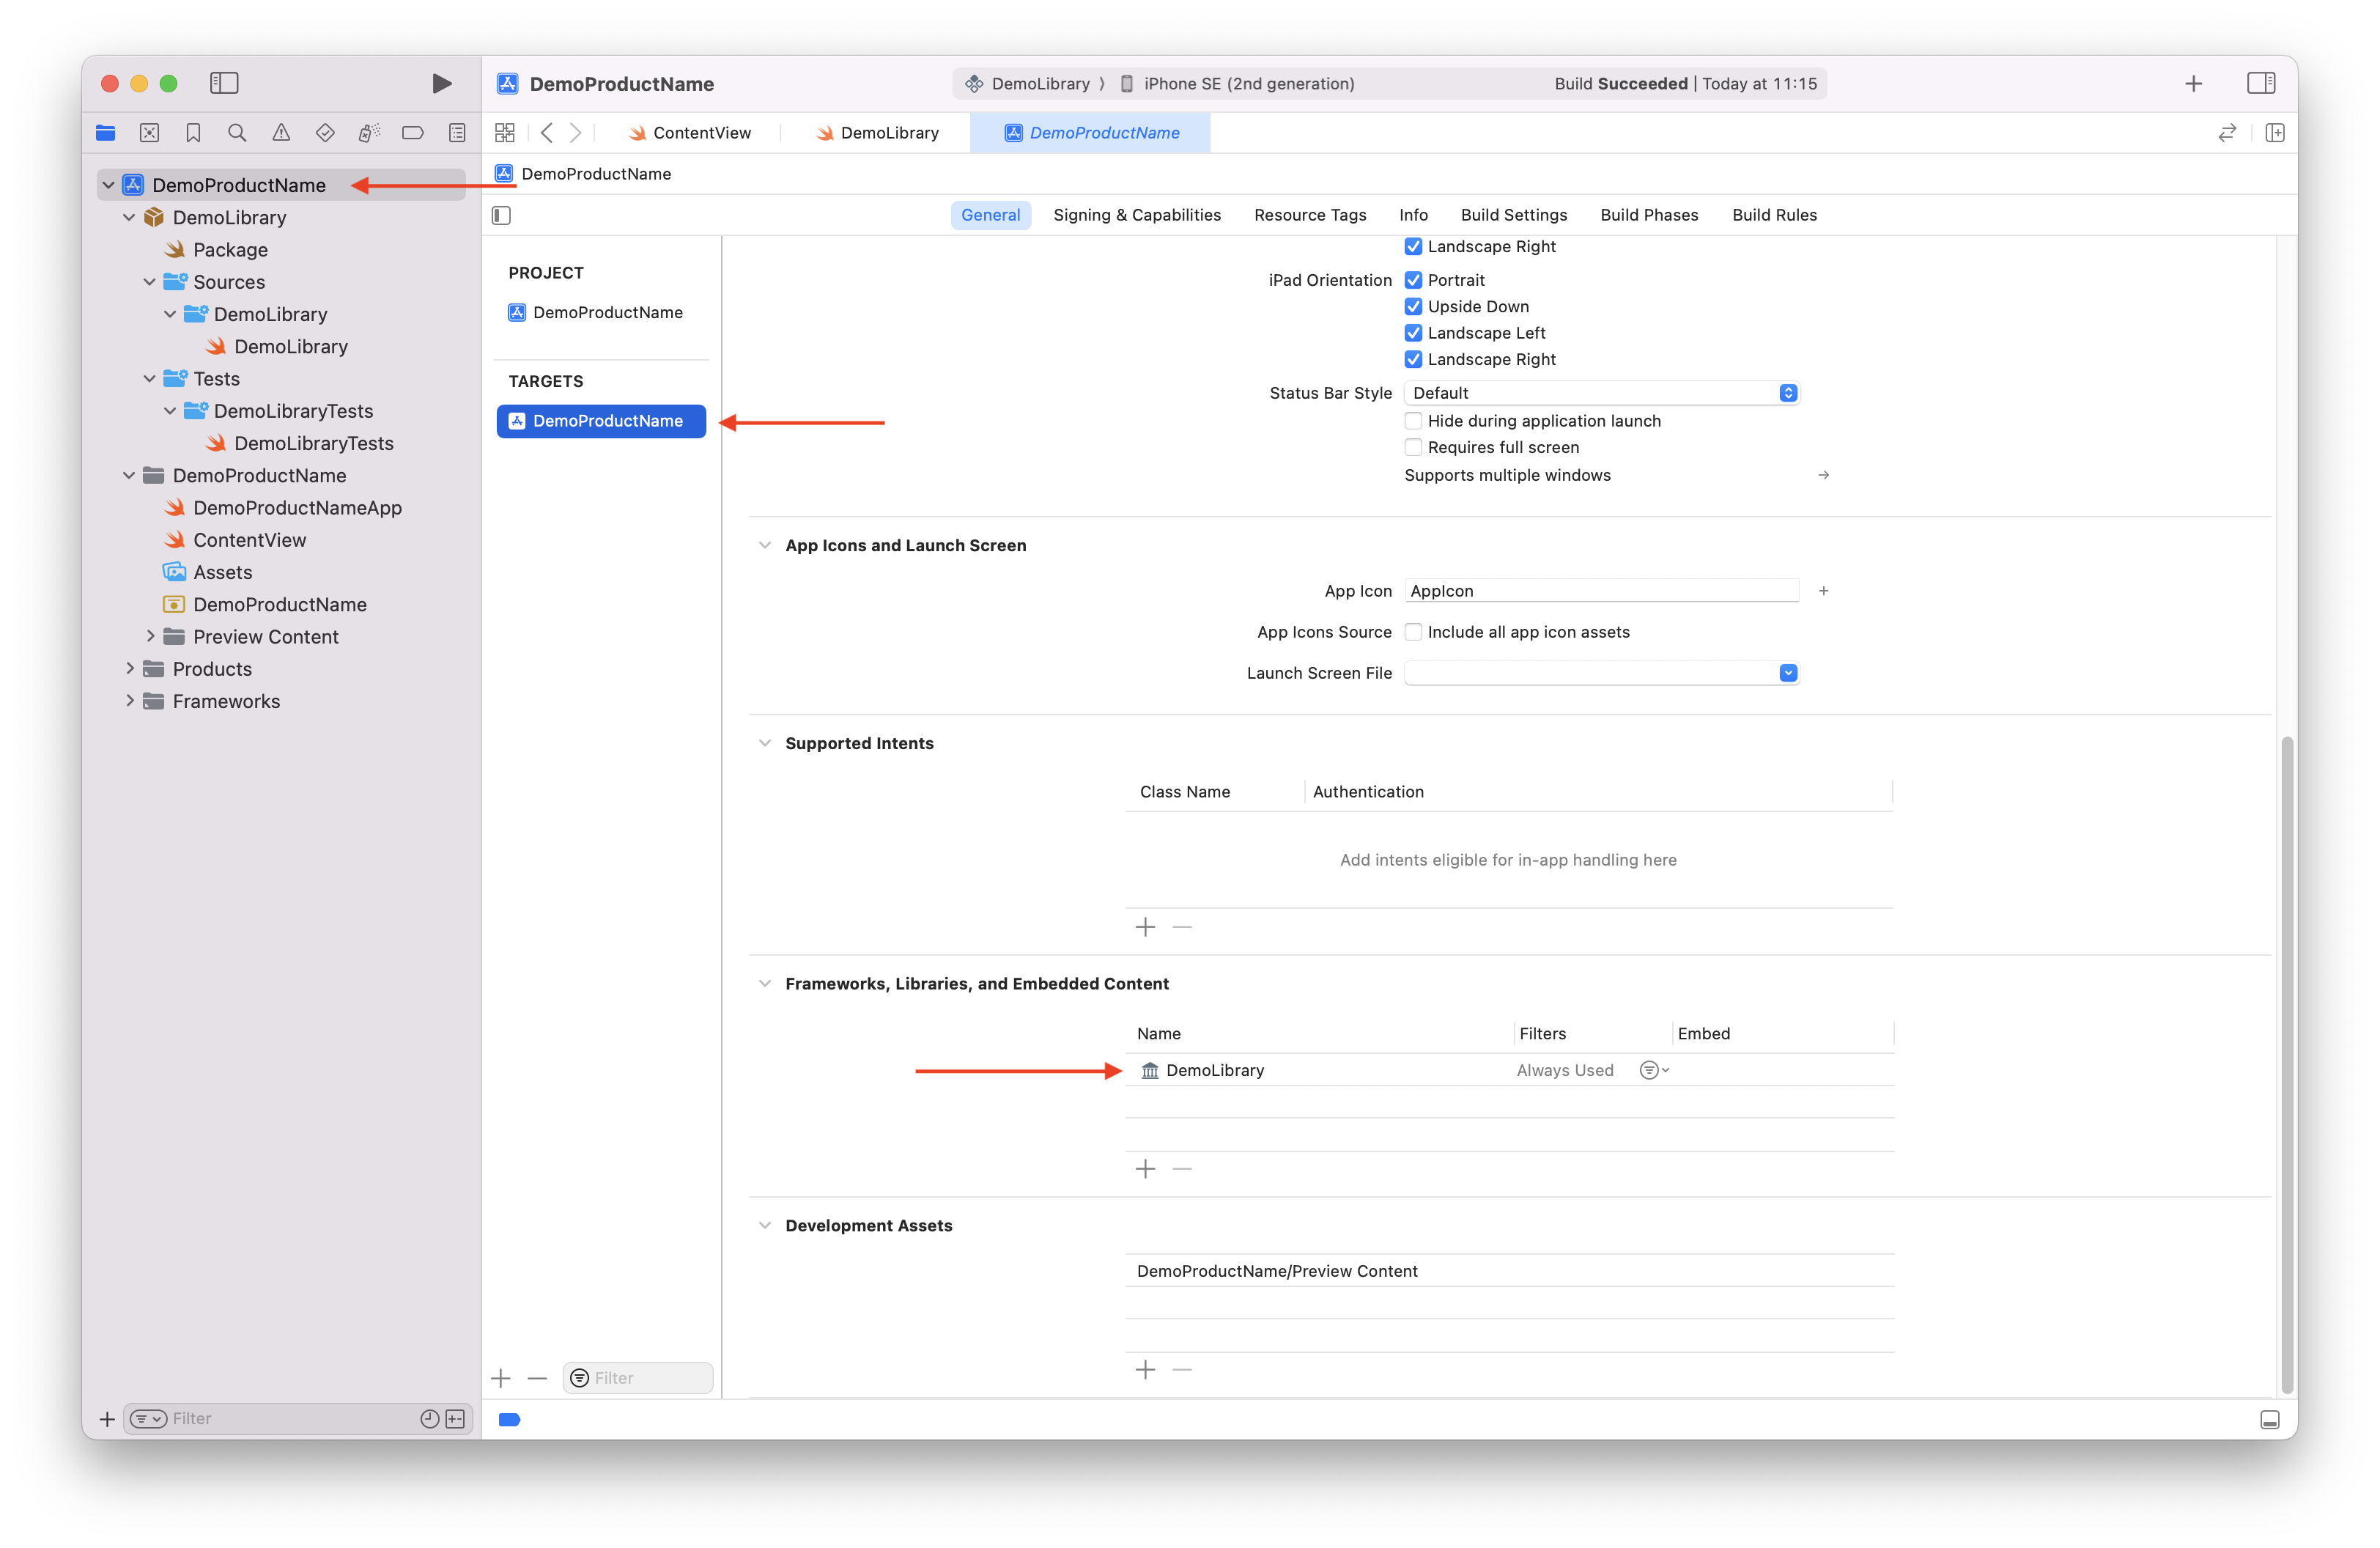
After adding DemoLibrary under Frameworks, Libraries and Embedded Content, it should be possible to import it and access its public interface:
// DemoProductNameApp.swift

import DemoLibrary
import SwiftUI

@main
struct DemoProductNameApp: App {
    let demoStruct = DemoStruct()

    var body: some Scene {
        WindowGroup {
            ContentView()
                .onAppear {
                    print(demoStruct.demoFunc(42))
                }
        }
    }
}
Notes
When adding a new
Targetin a package’stargetsarray, a folder with a matching name should be created underSources: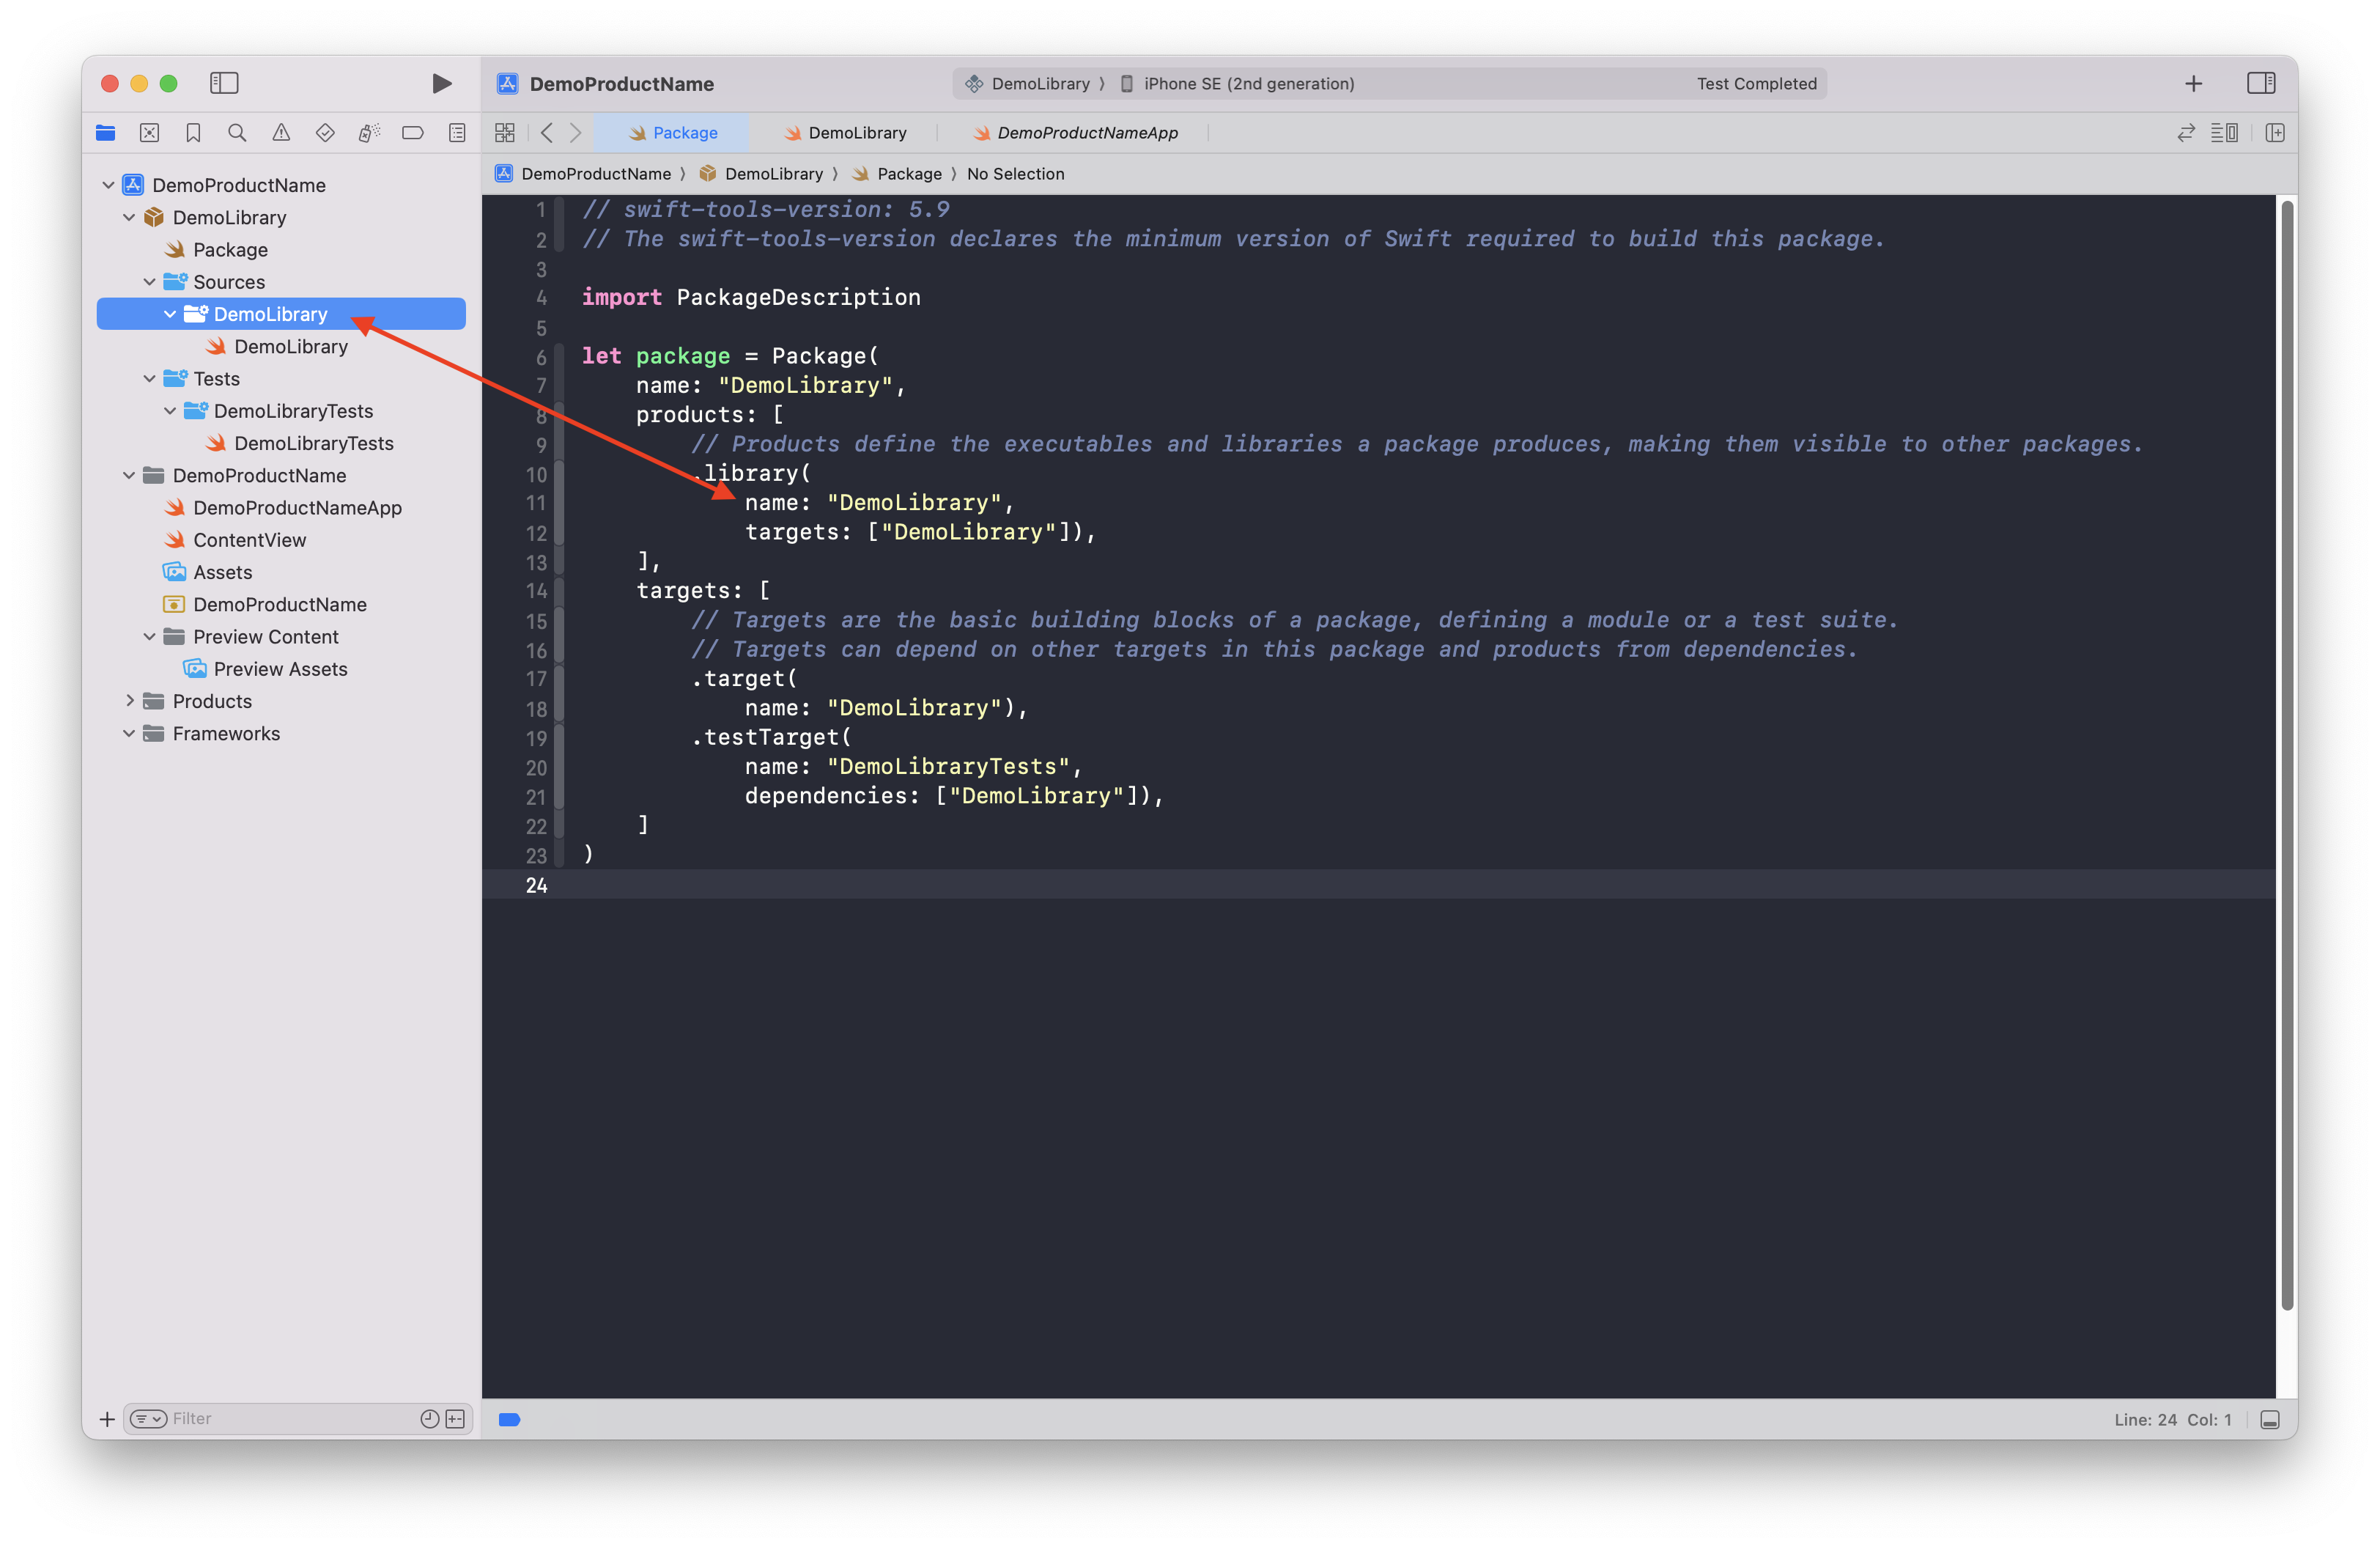
A target’s name is used if another target needs it as a dependency:
.target(
    name: "targetA",
    dependencies: []
),
.target(
    name: "targetB",
    dependencies: [
        "targetA",
    ]
),